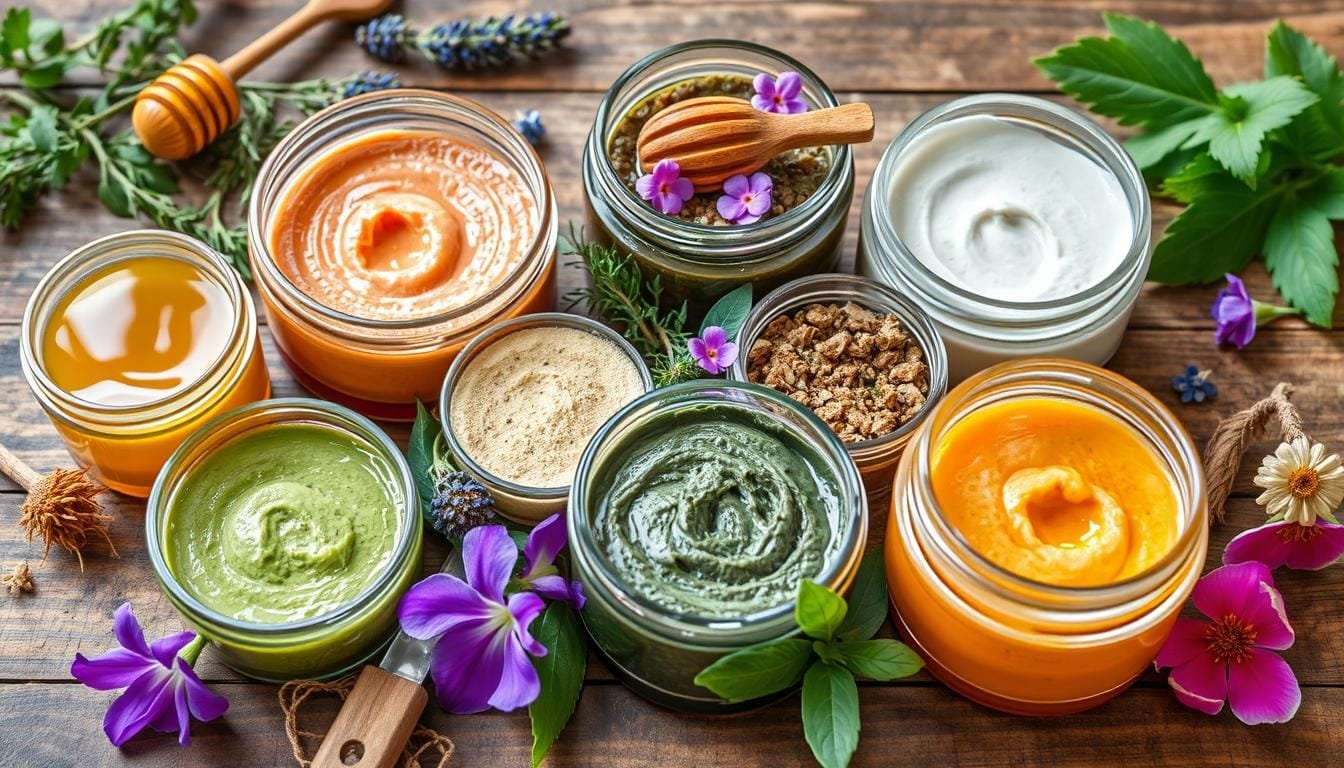
I’m excited to share with you a collection of homemade herbal face masks. They use botanicals like arnica, calendula, turmeric, and honey. These masks can help with acne, inflammation, dryness, and dullness.
By making these masks at home, you get a customized, affordable, and effective skincare routine. You’ll enjoy radiant, glowing skin.
Homemade herbal face masks are special because you can adjust them to fit your skin type and needs. They can help with blemishes, uneven skin tone, and dullness. Get ready to see the amazing results of these 8 best homemade herbal face masks for glowing skin.
Understanding the Benefits of Natural Face Masks
Natural face masks can change the game for a healthy, glowing complexion. They are made with gentle, herbal ingredients. These masks nourish, balance, soothe, and purify your skin, showing amazing benefits.
Why Natural Ingredients Matter for Skin Health
Natural face masks work because they use pure, plant-based ingredients. They are different from harsh chemical products. Ingredients like honey, yogurt, and herbs are full of vitamins, minerals, and antioxidants. They help solve many skin problems.
Key Benefits of Herbal Ingredients
- Anti-inflammatory properties: Ingredients like turmeric and green tea can help reduce redness and inflammation, making them ideal for sensitive or acne-prone skin.
- Antimicrobial effects: Herbs like lavender and thyme possess natural antimicrobial properties, which can help combat blemishes and promote a clear, healthy complexion.
- Antioxidant protection: Antioxidant-rich ingredients, such as berries and leafy greens, can shield your skin from environmental stressors and premature aging.
How Natural Masks Support Skin Balance
Natural face masks do more than just offer individual benefits. They work together to improve your skin’s health and balance. They help with issues like too much oil, dryness, and uneven tone. This leads to a brighter, more youthful look that boosts confidence and energy.
“Using natural ingredients in my face masks has made a noticeable difference in the health and appearance of my skin. I feel more confident and comfortable in my own skin.”
Essential Ingredients for Homemade Herbal Face Masks
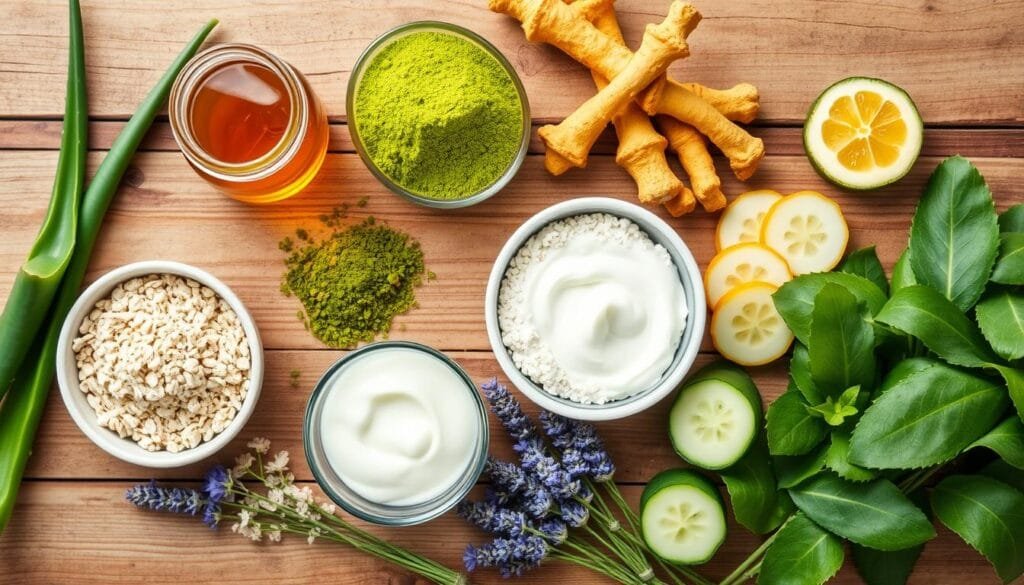
Creating your own face masks at home starts with choosing the right ingredients. You’ll need a mix of natural, skin-loving items. These include clay, honey, oatmeal, and herbal extracts. Each one brings its own set of benefits for glowing, healthy skin.
Clay is a key ingredient in many homemade masks. Both kaolin clay and bentonite clay are great. They gently remove impurities and balance your skin’s pH. Honey is also essential. It moisturizes, soothes, and fights off bacteria.
Plain yogurt is another great addition. It exfoliates gently and adds probiotics. Oatmeal is also a must-have. It soothes, reduces inflammation, and keeps your skin hydrated.
| Natural Mask Ingredients | Key Benefits |
|---|---|
| Kaolin Clay | Exfoliation, Balancing, Detoxifying |
| Bentonite Clay | Purifying, Decongesting, Tightening |
| Honey | Moisturizing, Soothing, Antimicrobial |
| Yogurt | Gentle Exfoliation, Probiotic Support |
| Oatmeal | Anti-Inflammatory, Hydrating |
There are many herbal skincare components you can add to your masks. Herbs like thyme, lavender, and rosemary have antimicrobial and calming effects. Turmeric, activated charcoal, green tea, and aloe vera are also great for DIY masks.
Knowing what each ingredient does helps you make masks that really work. Try mixing different ingredients to find what’s best for your skin. This way, you can create a natural skin care routine that’s just right for you.
Anti-Acne Clay Mask with Arnica and Calendula
Dealing with acne can be tough, but this homemade acne-fighting mask helps. It uses natural ingredients to calm and treat breakouts. Arnica, calendula, and white willow bark are the main ingredients. They work together for a natural acne treatment.
Preparation Instructions
Start by grinding 1 teaspoon each of dried arnica flowers, dried calendula flowers, and white willow bark. Then, mix the ground herbs with 1 tablespoon each of French green clay, bentonite clay, and zinc oxide. Add aloe vera juice or water to make a smooth paste.
Application Tips
- Apply the mask evenly to clean, dry skin, avoiding the delicate eye area.
- Let it dry for 15-20 minutes, then rinse with warm water.
- Use it 1-2 times a week for the best results.
Storage Guidelines
Keep the dry ingredients in an airtight container in a cool, dark place. Mix a fresh batch just before use for the best results. Enjoy the soothing, clarifying effects of this natural acne-fighting mask!
Honey and Turmeric Golden Mask for Inflammation
Looking for a natural way to calm inflammation and brighten your skin? Try the honey and turmeric golden mask. It combines honey’s moisturizing power with turmeric’s anti-inflammatory effects. This makes it a great solution for skin that’s irritated, red, or has blemishes.
Turmeric, known for its anti-inflammatory and antioxidant properties, is a key ingredient. Studies show it can help with skin issues like psoriasis and acne. The compound curcumin in turmeric reduces redness and makes skin look healthy and bright.
To make this turmeric face mask, mix one tablespoon of honey with a few drops of lemon juice and a pinch of turmeric powder. Apply it to your face, except the eye area, and leave it on for 15 minutes. Then, rinse with warm water. Use this natural skin soother once a week to soothe irritation, lessen redness, and add a radiant glow.
“Turmeric has been effective for combatting poor skin conditions like eczema, psoriasis, and skin damage over time.”
Add this Ayurvedic-inspired face mask to your self-care routine. Your skin will love the nourishing, anti-inflammatory benefits of this homemade recipe.

Soothing Thyme and Lavender Mask
I love skincare and natural ingredients for a glowing face. The thyme and lavender mask is a favorite of mine. It’s a calming herbal mask that feeds the skin and relaxes it.
Herbal Properties and Benefits
Thyme and lavender are the stars of this mask. Thyme fights off bacteria and tightens the skin. Lavender calms and soothes, reducing redness.
Together, they cleanse, tighten, and nourish the skin. This mask is great for a calming and refreshing face treatment.
Mixing and Application Methods
To make this mask, blend 1/4 cup oatmeal with 1 tablespoon each of dried lavender, rosemary, and thyme leaves. Add a few tablespoons of fresh aloe vera gel to make a paste.
Mix the powder with water to get a smooth paste. Apply it to your face, avoiding the eyes. Let it sit for 15 minutes. Rinse with warm water and pat dry for a glowing face.
“This mask is a game-changer for my skin. The thyme and lavender combination is so calming and nourishing – my face feels so refreshed after using it.”
Detoxifying Charcoal and Witch Hazel Blend
Revive your skin with this detox face mask. It combines activated charcoal and witch hazel. Activated charcoal pulls out impurities. Witch hazel tightens pores and soothes inflammation.
To make this charcoal skincare treatment, mix 1/2 teaspoon of activated charcoal, 1/2 teaspoon of witch hazel, 1/2 teaspoon of whole milk yogurt, and 1/4 teaspoon of turmeric. The yogurt hydrates, and turmeric brightens and evens skin tone.
Apply the pore-cleansing treatment to clean, dry skin, avoiding the delicate eye area. Let it sit for 15 minutes, then rinse with warm water. It’s great for oily or congested skin, reducing puffiness for a fresh look.
“Activated charcoal has a unique ability to bind with toxins and impurities, making it a highly effective ingredient for purifying the skin.”
For best results, use this charcoal skincare mask 2-3 times a week. Always patch test new products to ensure your skin tolerates them. Enjoy the deep cleansing benefits for glowing, healthy-looking skin.
Brightening Lemon and Papaya Enzyme Mask
Revitalize your skin with a homemade skin brightening mask. It uses natural ingredients like papaya and lemon juice. This mix offers a gentle yet effective way to exfoliate your skin.
Natural Exfoliation Benefits
Papaya is full of alpha hydroxy acids and the enzyme papain. These help remove dead skin cells gently. This makes your skin look brighter and more radiant.
It also reduces fine lines and wrinkles. Plus, it improves your skin’s texture and gives it a healthy glow.
Best Practices for Application
- In a bowl, mash 1/2 cup of ripe papaya until it’s smooth.
- Stir in 2 tablespoons of pure honey to add nourishment.
- Squeeze in the juice of 1/2 a lemon for a brightening effect.
- Apply a thin layer of the skin brightening mask to your face, avoiding the eyes.
- Let it sit for 15-20 minutes, then rinse with warm water.
- Moisturize after to keep your skin hydrated and radiant.
For the best results, use this papaya face treatment 2-3 times a week. Do it in the evening for maximum benefits. Always patch test before applying to ensure your skin is okay. See your skin transform into a brighter, more radiant version of itself.

Nourishing Oatmeal and Green Tea Mask
Try a homemade oatmeal and green tea mask for a soothing face treatment. This mix uses natural ingredients to make your skin feel new and fresh.
Oatmeal is full of antioxidants called avenanthramides. These help calm down irritated skin. Adding cooled green tea to the mix gives your skin even more antioxidants. This helps reduce inflammation and keeps your skin healthy.
To make this mask, mix cooked, cooled oatmeal with chilled green tea. Spread it on your face and neck. Let it sit for 10-15 minutes before rinsing with cool water. This mask is great for sensitive skin, calming and nourishing it.
| Ingredient | Benefits |
|---|---|
| Oatmeal | Rich in antioxidants, calms irritated skin |
| Green Tea | Packed with antioxidants, reduces inflammation |
Enjoy the soothing and nourishing effects of this soothing oatmeal mask and green tea skincare mix. It’s a calming face treatment that makes your skin look radiant and feel refreshed.
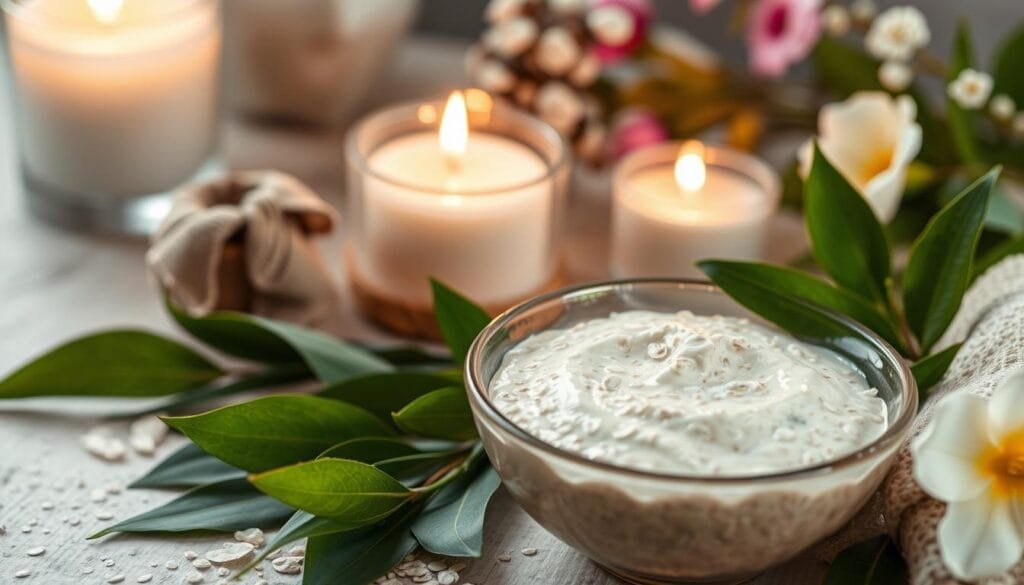
Hydrating Aloe Vera and Matcha Combination
Getting a bright, moist face is simple with a homemade aloe vera and matcha face mask. Matcha green tea powder is full of antioxidants and antibacterial properties. It helps make skin cells new, reduces fine lines, and makes skin smooth and soft.
Adding aloe vera gel to it makes the mask even more hydrating. This mask is calming and refreshing for all skin types.
Preparation Steps
To make this nourishing face mask, mix 1 teaspoon of premium matcha powder with 1/2 teaspoon of pure, organic aloe vera gel. Stir until it’s smooth and creamy. The matcha adds antioxidants, while the aloe vera gel hydrates and calms the skin.
Application Technique
- Put a thin, even layer of the mask on your clean, dry face and neck.
- Let it sit for 15-20 minutes, so the ingredients can work their magic.
- Rinse it off with warm water, and you’ll see a refreshed, glowing face.
This hydrating aloe vera and matcha face mask is great for dry skin. It’s calming and restorative. Enjoy the soothing, hydrating effects of this natural beauty treat.
Safety Guidelines and Skin Patch Testing
When making your own skincare at home, safety is key. Always do a skin sensitivity test before using a new face mask. Apply a small amount to a hidden area like your wrist or behind your ear. Wait 24 hours to see if there’s any redness, itching, or irritation.
Know your skin type and allergies. Stay away from ingredients you’re allergic to, even if they’re natural. For example, citrus can make your skin more sensitive to the sun. So, be careful if you’re using it in your DIY skincare routine.
Preventing contamination is also important. Use clean tools and surfaces to avoid bacteria. If you get irritation or discomfort, stop using the mask right away. And if it doesn’t go away, see a doctor.
| Common Irritants in Skincare Products | Potential Reactions |
|---|---|
| Fragrances (e.g., linalool, limonene, citronellol) | Allergic contact dermatitis |
| Preservatives (e.g., methylisothiazolinone, methylchloroisothiazolinone, formaldehyde) | Irritant contact dermatitis |
| Coal tar dyes, paraphenylenediamine (PPD) | Allergic contact dermatitis |
For safe and effective DIY mask safety, know your skin’s needs. Do a thorough skin sensitivity test before adding new natural ingredient precautions to your routine. By following these tips, you can enjoy homemade skincare safely and effectively.
Storage Tips for Homemade Face Masks
Keeping your homemade face masks fresh and effective is key. Whether you’ve made a soothing thyme and lavender mask or a detoxifying charcoal and witch hazel blend, proper storage is essential. Here are some practical tips to keep your DIY face masks in top shape.
For dry, powdered mask ingredients, store them in airtight containers in a cool, dry place away from direct sunlight. This keeps the botanical extracts and minerals fresh. When you’re ready to use the mask, just mix the dry ingredients with the right liquid.
If your mask has fresh ingredients like fruits, vegetables, or dairy, make only what you need for immediate use. Any leftover wet mask should be refrigerated in an airtight container and used within 2-3 days. Adding a few drops of natural preservatives like vitamin E oil can help it last a bit longer.
For oil-based masks with non-perishable ingredients, store them in a cool, dark place for up to 2 years. Always check for any changes in smell or appearance before applying. If it looks or smells off, discard it.
| Mask Type | Recommended Storage | Shelf Life |
|---|---|---|
| Dairy or Vegetable-Based | Refrigerator | 2-3 days |
| Fruit-Based | Refrigerator, airtight container | Up to 1 week |
| Oil-Based with Non-Perishable Ingredients | Cool, dark place | Up to 2 years |
Always check for any changes in scent or appearance before using your homemade face masks. Expired products can cause skin irritation, so it’s best to discard them if they show signs of spoilage. With these DIY mask preservation and natural skincare storage tips, you can enjoy the benefits of your homemade beauty product care for longer.
Best Practices for Face Mask Application
I love taking care of my skin with homemade face masks. First, I clean my face well to help the mask work better. I use my fingers or a soft brush to spread the mask evenly, being careful around my eyes and lips.
Applying the mask thinly is best for me. It feels light and doesn’t weigh my skin down. I leave it on for the time suggested, but rinse it off if I feel any discomfort.
After rinsing, I dry my skin gently and apply a moisturizer. This keeps all the mask’s benefits in. I use my masks 1-2 times a week, depending on my skin and the mask’s ingredients. These steps help my skin look radiant and healthy.
