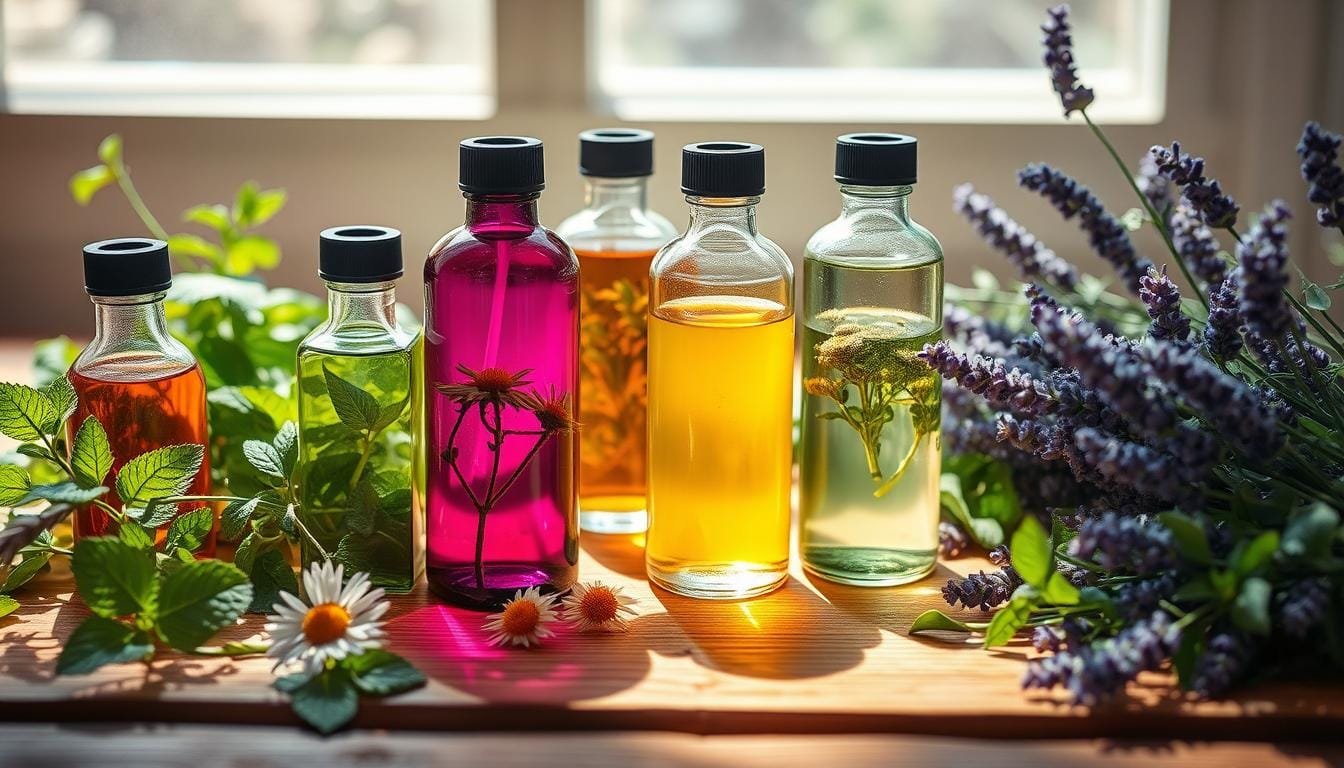
As an aspiring herbalist, I’ve found herbal tinctures to be incredibly beneficial. These liquid extracts are strong and last a long time. They are made by soaking plant parts in alcohol or vinegar.
Tinctures can be made from many herbs like leaves, bark, berries, and roots. This makes them a great way to use plants’ power.
The FDA doesn’t control herbal tinctures in the U.S. But, it’s important to be careful and cautious. Before starting, talk to a healthcare professional and research the herbs you’ll use. This ensures your remedies are safe and work well.
In this guide, I’ll show you how to make your own herbal tinctures at home. If you want to support your health or explore natural medicine, this tutorial is for you. It’s easy to follow and will give you the skills to make your own herbal extracts.
Understanding What Herbal Tinctures Are and Their Benefits
Herbal tinctures are alcohol-based extracts that focus on the active parts of herbs. They are strong natural remedies that last a long time. They make it easy to add the health benefits of plants to your daily life. Tinctures come from many herbs, each with special healing powers.
Different Types of Herbal Extracts
While tinctures are well-known, they’re just one of many herbal extracts. Other common ones include:
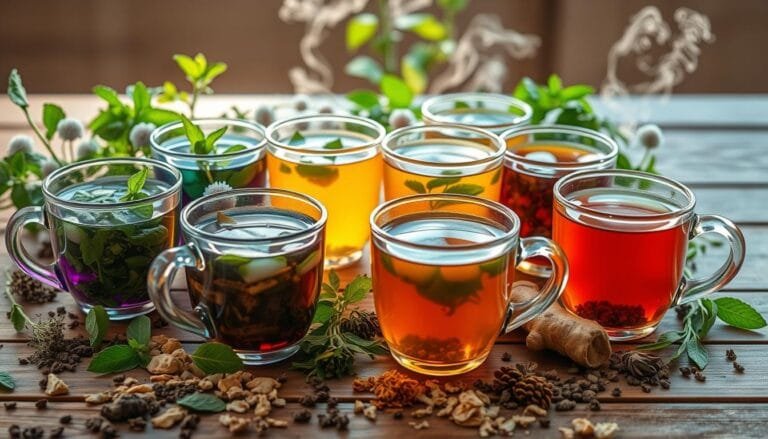
- Infusions (made by steeping herbs in hot water)
- Decoctions (made by simmering herbs in water)
- Essential oils (highly concentrated plant extracts)
- Powders (made by drying and grinding herbs)
Why Tinctures Are Effective
Tinctures work well because alcohol extracts a wide range of plant compounds. This makes them more potent and easier for the body to use than water-based extracts.
Benefits of Using Tinctures
Using herbal tinctures has many advantages:
- They are absorbed better and work faster than dried herbs or capsules.
- They offer precise dosing with a dropper.
- They are easy to take, even if you don’t like the taste of herbs.
- They last a long time, up to 5 years when stored right.
Herbal tinctures can help with stress, sleep, or specific health issues. They are a valuable part of natural wellness.
Essential Supplies and Equipment for Making Homemade Herbal Tinctures
Making your own herbal tinctures at home needs the right tools and supplies. Each item, from the herbs to the extraction tools, is important. Let’s look at what you need to start making your own herbal tinctures.
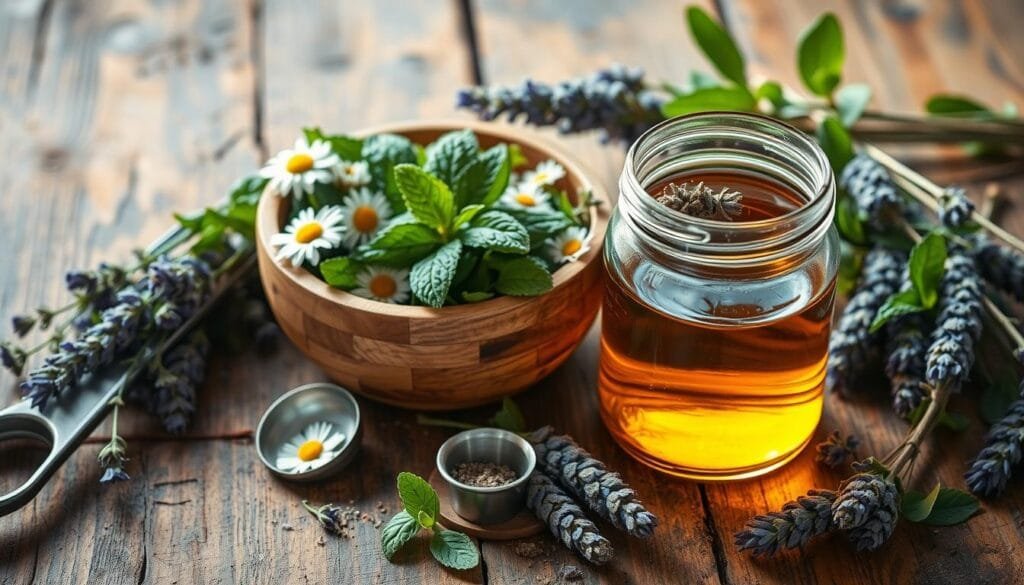
You’ll first need fresh or dried herbs for your tinctures. Herbs like echinacea, lavender, and yarrow are popular. You’ll also need high-proof alcohol, like vodka or brandy, to extract the herbs’ goodness.
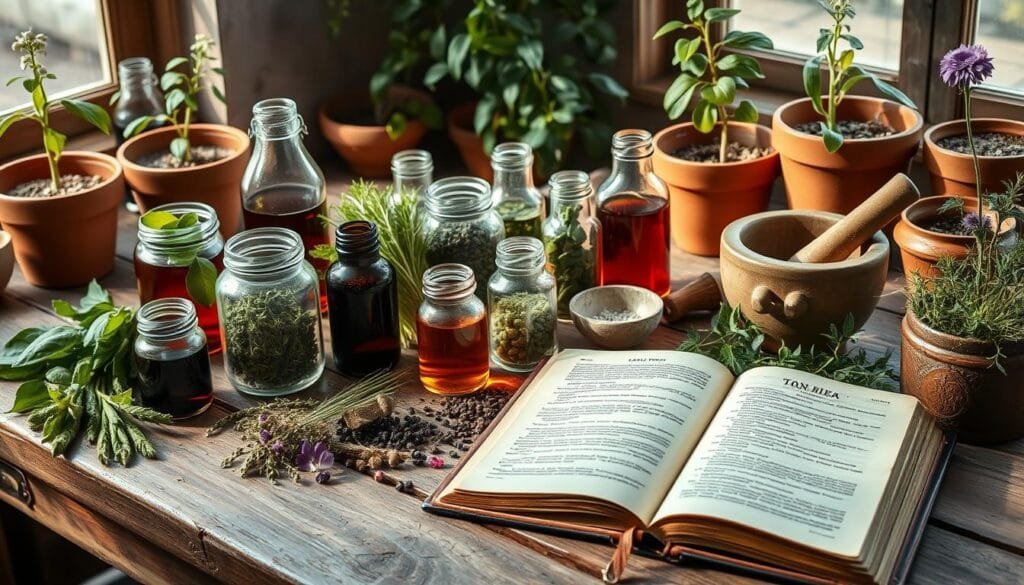
- Glass jars with plastic or metal lids for your herbal mix
- A sharp knife or chopper for cutting the herbs
- A metal funnel for pouring the tincture
- Cheesecloth or a fine-mesh strainer for straining the tincture
- Amber glass dropper bottles for storing and using your tinctures
If you want to try the percolation method, you’ll need more tools. But, the basic folk method can be done with the basic supplies.
“Quality ingredients and equipment are key for making effective herbal tinctures.”
Choosing the right tincture-making tools and herbal extraction equipment is important. It makes sure your tinctures are strong, safe, and true to the plant’s properties. With the right supplies, you can make your own medicinal herbal extracts.
Choosing the Right Herbs for Your Tinctures
Choosing the right herbs is key to making great herbal tinctures. The quality and effectiveness of your tinctures depend on the herbs you pick. We’ll look at some top herbs for tinctures and the difference between fresh and dried herbs.
Fresh vs. Dried Herbs
Fresh and dried herbs both work for tinctures, but they have different needs. Fresh herbs need a strong alcohol, about 95%, because they have more water. Dried herbs do well with less alcohol, 40-60%.
Popular Medicinal Herbs for Tinctures
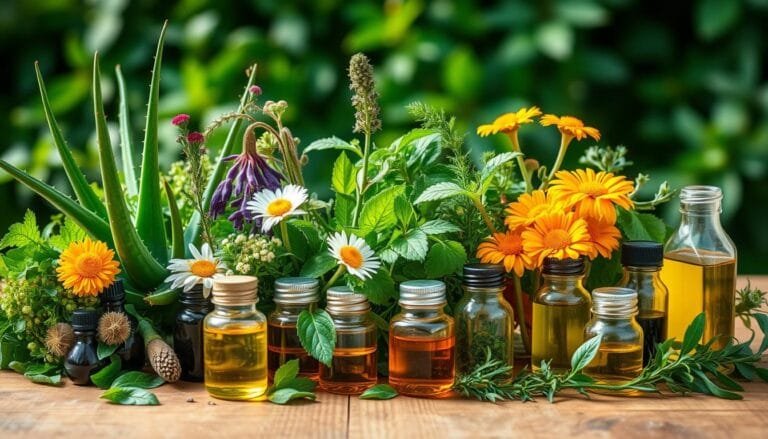
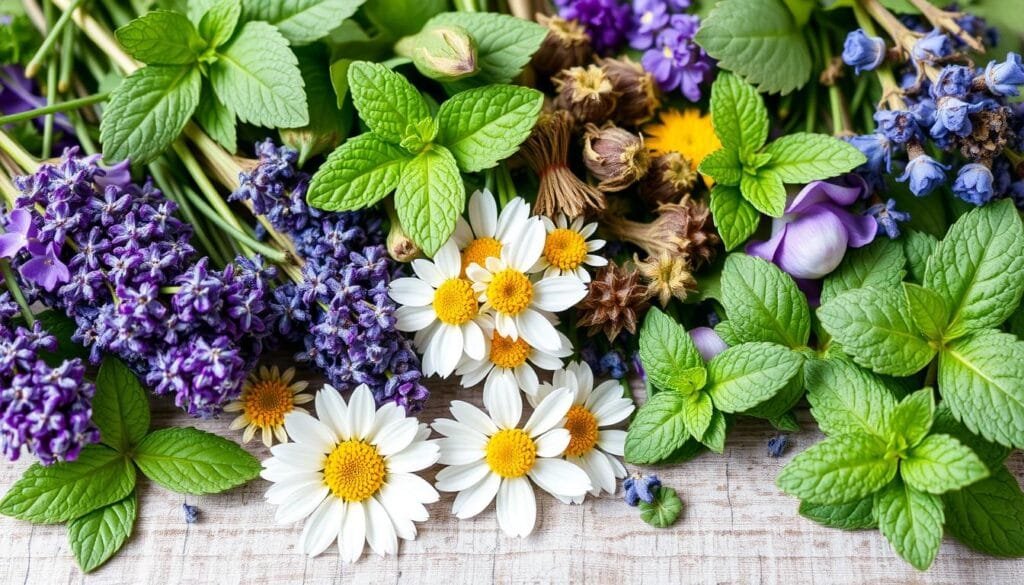
- Chamomile – Known for its calming and anti-inflammatory properties, chamomile makes an excellent tincture for relaxation and sleep support.
- Echinacea – This herb is prized for its immune-boosting benefits, making it a popular choice for tinctures that support the body’s natural defenses.
- Lavender – With its soothing aroma and properties, lavender tinctures can be used to promote relaxation and stress relief.
- Peppermint – Tinctures made from peppermint can be helpful for digestive issues, headaches, and respiratory support.
- Turmeric – This vibrant herb is celebrated for its anti-inflammatory and antioxidant benefits, making it a versatile choice for tincture-making.
Always pick high-quality, potent herbs for your tinctures. Look to herbalists or trusted online sources for info on herbs. Keeping your herbs in good condition is also important for their potency.
Understanding Alcohol Types and Strengths for Tincture Making
When making herbal tinctures, the alcohol type and strength are key. For dried herbs, a 40-50% alcohol like vodka or brandy works best. But, for fresh herbs, a 67.5-70% alcohol is better to get the plant’s compounds.
For dense herbs like gums and resins, use a strong 85-95% alcohol. This is because high-proof grain alcohol is needed for these.
The alcohol’s strength affects the tincture’s taste, power, and health benefits. Pick an alcohol that matches your herbs’ needs. For example, gin’s juniper flavor can go well with some herbs, while whiskey’s smoky taste might suit others.
| Alcohol Type | Typical ABV Range | Ideal for Extracting |
|---|---|---|
| Vodka | 35% – 95% | Wide variety of herbs |
| Gin | 37.5% – 50% | Herbs with floral or piney notes |
| Brandy | 35% – 60% | Delicate herbs and fruits |
| Rum | 40% – 80% | Herbs with tropical or spicy flavors |
| Whiskey | 40% – 80% | Herbs with earthy, woody notes |
| Neutral Grain Spirit | 85% – 97% | Resins, gums, and dense plant parts |
If you want to avoid alcohol, glycerol is a good alternative. It’s not intoxicating. But, using organic, high-quality herbs is essential for pure tinctures.
The Folk Method: Simple Traditional Tincture Making
If you’re looking for a simple way to make herbal tinctures, the folk method is perfect. It’s a traditional approach that’s easy to start with. It’s great for beginners in traditional herbalism.
Step-by-Step Folk Method Process
- First, pick the herbs you want to use. Fill a clean glass jar 2/3 to 3/4 with fresh herbs or 1/2 to 3/4 with dried ones.
- Next, cover the herbs with a good alcohol like brandy or vodka. Make sure the herbs are fully covered.
- Then, seal the jar tightly. Keep it in a cool, dark place for 6-8 weeks. Shake it gently every 2-3 days.
- After 6-8 weeks, strain the tincture through a fine-mesh sieve or cheesecloth. This separates the liquid from the solids.
- Put the strained tincture into clean, labeled amber glass bottles. This makes it easy to store and use.
Common Folk Method Mistakes to Avoid
- Using too little alcohol – This can make the extraction weak. Alcohol is key for pulling out the active compounds.
- Not fully submerging the herbs – Any part of the herbs above the liquid can mold or spoil. This ruins the tincture.
- Failing to shake the jar regularly – Shaking helps mix the plant’s parts evenly. This ensures a good extraction.
By following these steps and avoiding common mistakes, you can make strong, traditional herbalism tinctures. The simple tincture method is a useful tool for natural health.
The Percolation Method: Advanced Tincture Preparation
The percolation method is a big step up for making herbal tinctures. It’s fast, taking only 24-48 hours. But, it needs special tools and exact measurements. This makes it perfect for those who are experienced or make tinctures for a living.
This method slowly moves a solvent, like alcohol, through dried herbs. It pulls out the good stuff from the plants. This way, you get a strong and focused tincture. By controlling how fast it moves and the temperature, you can make sure your tinctures are top-notch.
One great thing about percolation is how quick it is. Unlike the old way, which takes weeks, percolation is much faster. It’s perfect for when you need tinctures fast or like a more detailed way of making them.
| Comparison of Tincture Preparation Methods | Maceration | Percolation |
|---|---|---|
| Extraction Time | 6-8 weeks | 24-48 hours |
| Extraction Efficiency | Moderate | High |
| Skill Level Required | Beginner | Advanced |
| Equipment Needed | Basic | Specialized |
Even though percolation is more complex than the old way, it has many benefits. Learning this professional tincture making skill lets you get the most out of your herbs. You can make quick extraction method tinctures that are strong and efficient.
“The percolation method allows me to create tinctures that are consistently potent and reliable. It’s a game-changer for my herbal practice.”
– Jane Doe, Certified Herbalist
Proper Plant Material to Alcohol Ratios
Creating effective herbal tinctures starts with the right herb-to-menstruum ratio. This ratio affects the strength and potency of your tincture. For fresh herbs, a 1:1 ratio is often suggested. This means using equal parts of fresh herb and alcohol.
Dried herbs, on the other hand, need a 1:4 ratio. This means one part of dried herb to four parts of alcohol. This higher ratio is needed because dried plants have less water. It helps extract more of the plant’s good stuff.
Fresh Plant Ratios
- For fresh leaves, flowers, and stems, fill the jar two-thirds to three-quarters full with the plant material.
- For fresh roots, barks, and berries, use a slightly lower ratio, filling the jar half to three-quarters full.
Dried Plant Ratios
- When using dried herbs, the jar should be filled one-half to three-quarters full with the plant material.
- Adjust the herb-to-menstruum ratio based on the specific herb and the desired tincture strength. Some potent herbs may require a ratio as low as 1:10 or 1:20.
The right ratio depends on the plant’s density, water content, and the tincture’s desired strength. Try different ratios and keep track of your results. This will help you find the best ratio for your herbal tinctures.
| Alcohol Type | Alcohol Percentage (ABV) |
|---|---|
| Whiskey, Rum, Scotch, Tequila | 40-46% |
| Vodka | 35-46% |
| Gin | 35-40% |
| Brandy | 30-65% |
| Everclear | Up to 95% |
“Properly crafting herbal tinctures is an art that requires careful consideration of the plant material, alcohol type, and extraction ratios. By finding the right balance, you can unlock the full medicinal benefit of your herbs.”
Extraction Time and Storage Guidelines
Creating herbal tinctures requires patience. The tincture maceration process takes 6 to 8 weeks. This allows the herbs’ active compounds to fully extract into the alcohol. It’s vital to store your tinctures in a cool, dark place. Shake them a few times a week for even extraction.
Storing your herbal extracts properly is key. Tinctures can last for years if stored in airtight, dark glass bottles in a cool, dark spot. Always label each bottle with its contents and the date made. This helps track how fresh your tinctures are.
- Tinctures have higher concentrations of active compounds than other herbal preparations. This makes them more potent and effective.
- Tinctures can last up to five years when stored correctly in airtight, dark glass bottles in a cool, dark place.
- The recommended maceration (extraction) time for a tincture is generally 4-6 weeks. But, some people wait for as little as 3 weeks or longer periods.
By following these guidelines, your homemade herbal tinctures will stay potent. They will provide you with the maximum health benefits for years to come.
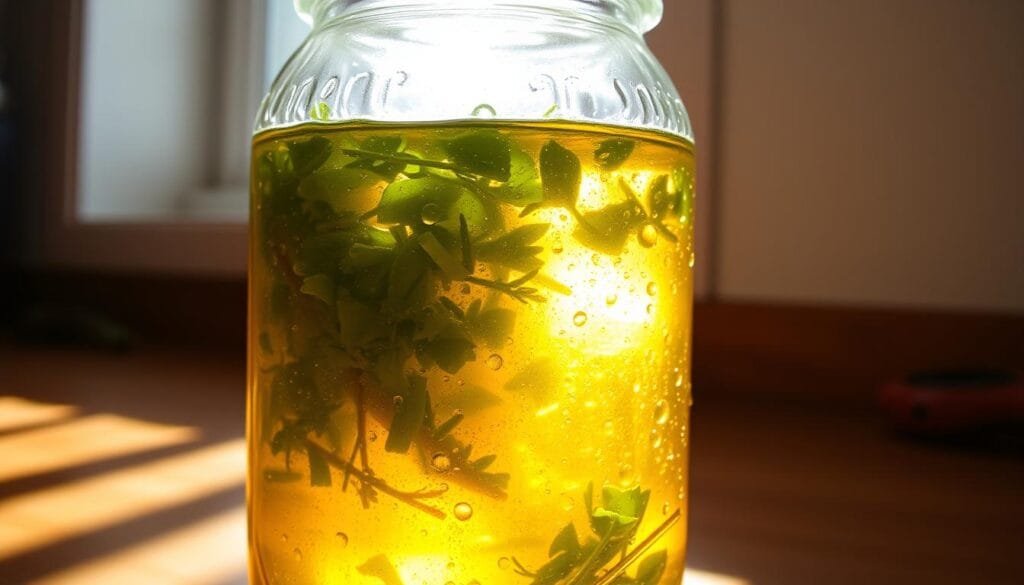
Straining and Bottling Your Finished Tinctures
Making homemade herbal tinctures is rewarding. But straining and bottling are key steps. After extraction, filter your tincture to remove plant material. This ensures a smooth, potent liquid. This process is called tincture filtration and is vital for quality herbal extract bottling.
To strain a tincture, use a damp cheesecloth or muslin cloth over a funnel. Slowly pour the liquid through to catch any sediment. Gently squeezing the herb material can extract every last drop. You can also blend the herbs into a mush before straining for better extraction.
Store your tincture in dark glass bottles, like those made from cobalt or amber glass. These bottles protect your herbal extract from light degradation, keeping it potent and intact over time.
| Straining Method | Benefits |
|---|---|
| Cheesecloth or Muslin Cloth | Provides an additional filter for fine particles, ensuring a smoother liquid. |
| Potato Ricer | Offers more efficiency in extracting all the liquid from the herbs. |
After straining and bottling, you’re close to enjoying your homemade herbal tincture. Be sure to label your tinctures with the herb used, extraction date, and alcohol percentage. This makes it easy to identify and store them.
How to Label and Store Your Herbal Preparations
Proper labeling and storage are key to keeping your homemade herbal tinctures potent and safe. By following a few simple guidelines, you can make sure your tincture labeling and herbal remedy storage are both effective and efficient.
Essential Label Information
When labeling your herbal tinctures, make sure to include the following details:
- Common and Latin name of the herb
- Plant part used (e.g., root, leaf, flower)
- Alcohol percentage and herb-to-liquid ratio
- Date the tincture was prepared
- Intended use or application method
- Dosage information
- Any warnings or contraindications
Creating personalized labels with this information is easy. You can use masking tape, painter’s tape, or pre-designed sticky labels. For a more professional look, consider a label maker or waterproof paper. A free label template is also available to make the process even easier.
Storage Best Practices
To keep your herbal tinctures potent, store them properly. Use dark glass bottles and keep them away from sunlight and heat. A cool, dry place, like a cabinet or pantry, is best. Proper storage can help your tinctures last for years, keeping their medicinal properties intact.
By following these guidelines for tincture labeling and herbal remedy storage, you can be sure your homemade preparations are well-organized, safe, and ready to use whenever you need them.
Safety Considerations and Precautions
Starting your homemade herbal tincture journey? Safety first! Always check with a healthcare professional before using any herbal tinctures, if you’re on medications. Herbal medicines can interact with drugs, so watch out for side effects or things you shouldn’t do.
Start with small amounts of herbal tinctures and slowly add more if needed. They are strong, and finding the right amount is key. If you feel sick, dizzy, or have headaches, stop using it.
Not all herbs are safe for tinctures. Some can be toxic. Make sure to research the herbs you want to use and check reliable sources. Buying from trusted suppliers and following storage and handling tips can also help avoid risks.
